
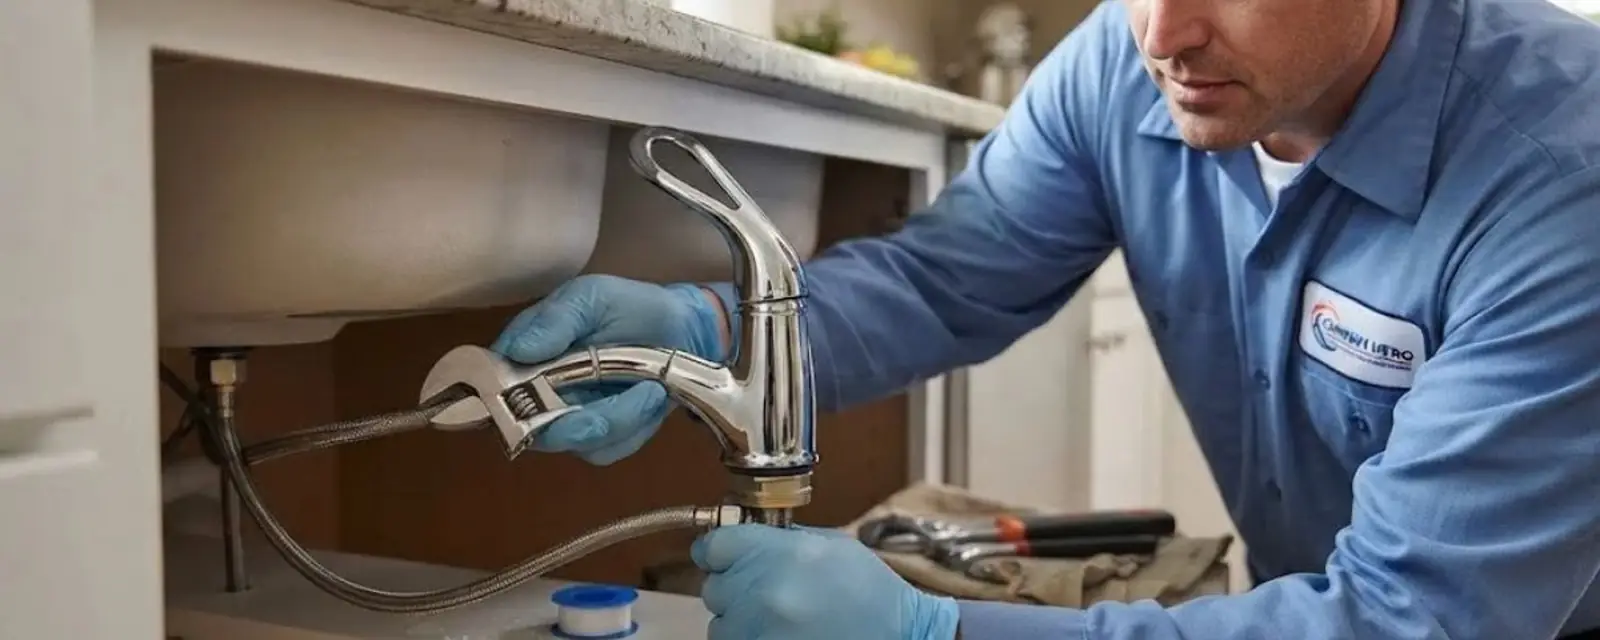
Short Answer: Tape the Threads and Nothing Else
Plumbing tape is thin white PTFE film, often sold as Teflon tape. It does not glue anything. It lubricates the joint so the threads tighten evenly, and it fills the spiral gap that water would otherwise follow out.
A shower head screws onto a threaded pipe called the shower arm. That threaded joint is the one place tape belongs. Wrap the male threads on the arm and no other part.
Most connection drips come from four causes. There may be no tape at all, the old tape may have shredded, the rubber washer may be missing or flattened, or the head may have been tightened crooked. The first two take about ten minutes to fix. The last two need a closer look, and the sections below show how.
Gather These Items First
You need very little for this job, and most of it lives in a basic tool kit.
- A roll of white PTFE tape made for water lines.
- A rag or old towel to protect the chrome finish.
- An adjustable wrench or channel-lock pliers.
- A small brush or old toothbrush for thread debris.
- A replacement rubber washer if the old one looks flat or cracked.
Close the shower stop valve if the valve has one. Otherwise, close the main water valve for the house. Then unscrew the old head by hand. If it will not turn, wrap the cloth around the neck of the head and use the wrench gently. Chrome scratches easily, and the cloth keeps the finish clean.
Wrap the Threads in Five Steps
- Clean the threads. Brush off old tape, mineral scale and debris until the bare metal shows.
- Inspect the washer. Look inside the head for a rubber washer. Replace it if it is flat, hard or torn.
- Wrap clockwise. Face the threaded end of the arm and wrap the tape clockwise for three full turns. Pull it snug so it sits in the grooves.
- Press the tape down. Tear it off and smooth it with your thumb so no loose tail hangs past the end.
- Thread the head on by hand, then add a quarter turn. Use the cloth and wrench only for that last gentle turn.
Direction matters. The head turns clockwise as you tighten it, and that motion pulls the tape deeper into the threads. Tape wrapped the other way bunches up and leaves gaps.
Turn the water on slowly and watch the joint for a full minute. Dry it with a paper towel and check again after ten minutes, because slow seeps show up late.
Where Tape Does Not Belong
Tape is the wrong tool on several parts of a shower, and using it there can make a leak worse.
- Compression fittings, which seal with a metal ring called a ferrule.
- Rubber washers and gaskets, which seal by being squeezed flat.
- Handheld shower hose ends, which each carry their own rubber washer.
- Plastic threads on some modern heads, where thick tape can split the plastic.
- Fuel gas pipes, which need gas-rated products installed by a licensed professional.
The rubber washer is the most common mistake. Tape stacked behind it lifts it off its seat, and water slips around the edge. If a hose connection leaks, replace the washer and skip the tape. If you are replacing the whole valve or arm, our plumbing installation crews handle the work inside the wall.
Threaded shower connections are simple, yet any repair that moves pipe inside the wall falls under Georgia's state minimum plumbing code, based on the 2024 International Plumbing Code (IPC). Tape work on the arm and head does not.
Leak behind the shower wall?
Stop taping and call the 24/7 line. A plumber can find the source before the drywall pays for it.
Why It Still Leaks After Taping
A leak that survives fresh tape has a different cause. Match what you see to the likely source before you try again.
| Where the water shows | Likely cause | What to try |
|---|---|---|
| Drip at the joint with the arm. | Worn threads or thin tape. | Re-wrap with three fresh turns. |
| Seeps from the head face when off. | Mineral buildup in the head. | Soak the head in vinegar and rinse. |
| Spray from the wall around the arm. | Loose arm in the wall fitting. | Stop and call a plumber. |
| Drip from the spout after use. | Worn valve cartridge. | Replace the cartridge. |
A loose arm is the one to take seriously. Cranking on it can crack a pipe or fitting inside the wall, and the damage stays hidden until a stain appears on the room below.
How Much Water a Small Drip Wastes
EPA WaterSense reports that a showerhead leaking ten drips a minute wastes more than 500 gallons a year. It also estimates that the average household loses over 9,300 gallons a year to leaks of every kind.
Those numbers apply to any home, and they show why a small drip is worth ten minutes of your time. Beyond the water bill, a damp shower wall softens drywall behind the tile and invites mold.
If your bill climbed and you cannot find a visible drip, the leak may be hiding in a wall or under the yard. Our leak detection service uses listening gear and thermal cameras to trace those leaks without tearing open the house.
When to Stop and Call a Plumber
Some shower problems are past the point where tape helps. Call a plumber if you see any of these signs.
- The leak continues after fresh tape and a new washer.
- Water appears on a ceiling or wall near the shower.
- The shower arm wobbles or turns in the wall.
- Water pressure swings from strong to weak.
- The valve handle is stiff, loose or will not shut the water off.
A plumber can check the supply line, the valve and the pressure in one visit. Homeowners in Duluth and Norcross can reach the same dispatch line that serves Peachtree Corners, and the dispatcher will give you the earliest window for a truck.
Shower Head Tape Questions From Peachtree Corners Homes
Wrap clockwise while facing the threaded end of the shower arm. The head also turns clockwise as you tighten it, so the tape tightens into the threads instead of unwinding.
Three full turns is a good starting point for clean threads. Worn threads may take a fourth turn, but a thick wad of tape can crack plastic heads, so stop once the head threads on smoothly by hand.
Yes. Gwinnett County Department of Water Resources advises homeowners to check pressure at the front spigot, and the pressure-reducing valve in the house is the owner's responsibility. High pressure can push water past a joint that would hold normally.
No. Hose connections seal with a rubber washer at each end. Tape lifts the washer off its seat and causes leaks. Replace the washer if the connection drips.
Usually not. Water trapped in the head drains out for a short time. A drip that continues for minutes points to a worn valve cartridge, which a plumber can replace.
Either works on metal threads when applied correctly, and tape is easier for a shower arm. Do not stack both on the same joint. Use a product labeled safe for plastic if the head has plastic threads.